My Tara Top
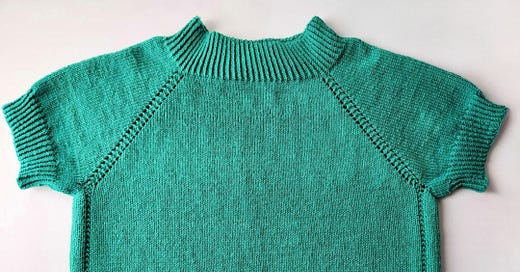
I've finished my latest project! It's as wonderful as I hoped it would be... But what am I supposed to knit next?
My Tara Top project has provided plenty of learning curves in my knitting journey. (The designer of this fantastic pattern is Arnhild Skatvedt, a Norwegian knitter.)
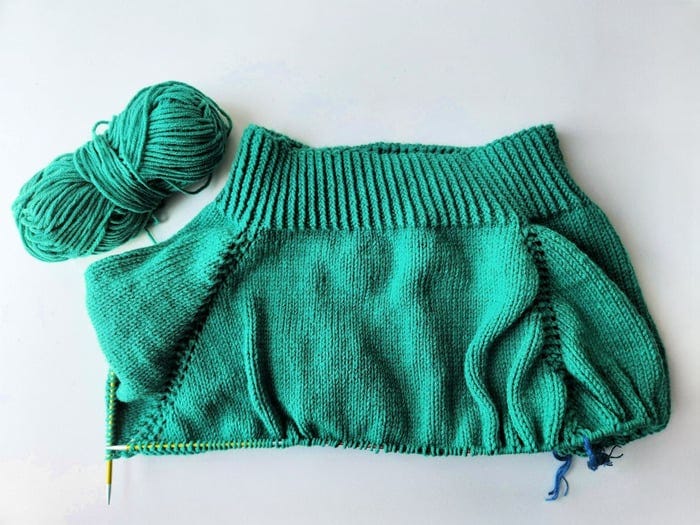
I love the raglan sleeves and how the garter stitch patterning continues down the side of the body. The effect of twisted ribbing in this garment adds a classy touch. It’s quick to knit because it’s mostly stockinette in the round, top down.
Here are some of the learning opportunities I’ve had so far:
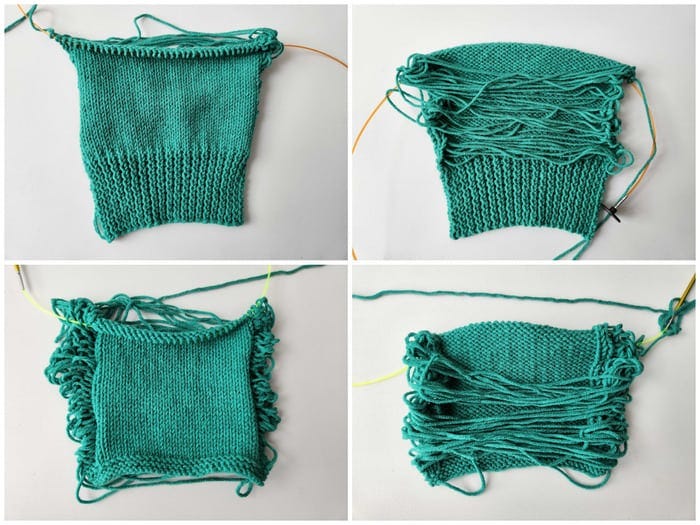
Knitting up a gauge swatch on circular needles carrying the yarn behind to imitate knitting in the round with a 4 ply cotton yarn which is very different to the original yarns in the pattern
The cotton yarn I’ve used bought online in Thailand, is 4ply and is different to the choice of yarns for the original pattern. The design was knitted with a mohair/silk blend (#1 lace) and 100% noil silk (raw silk created with shorter fibers) (#1 lace) held together. The drape of the fabric from those yarns looks different.
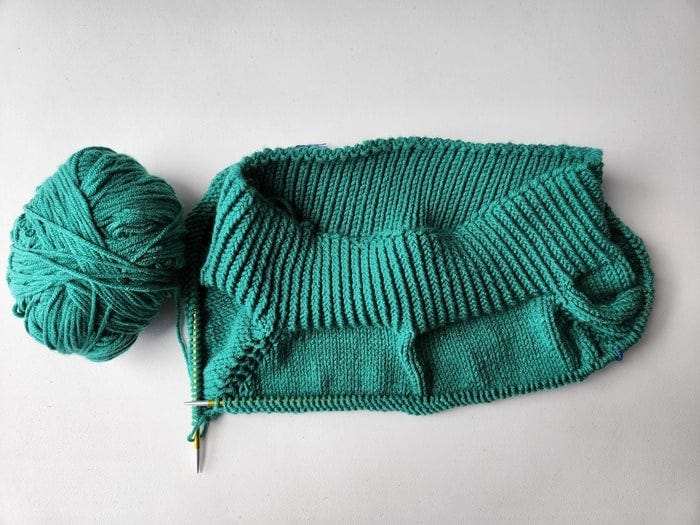
I love twisted 1×1 Rib, it’s a tighter looking rib with a twist. It’s a simple ribbing where you knit through the back loop and purl alternately. (KTB1, P1) The ribbed section at the top of the sweater is a much wider neck than many patterns, but that gives it a unique look.
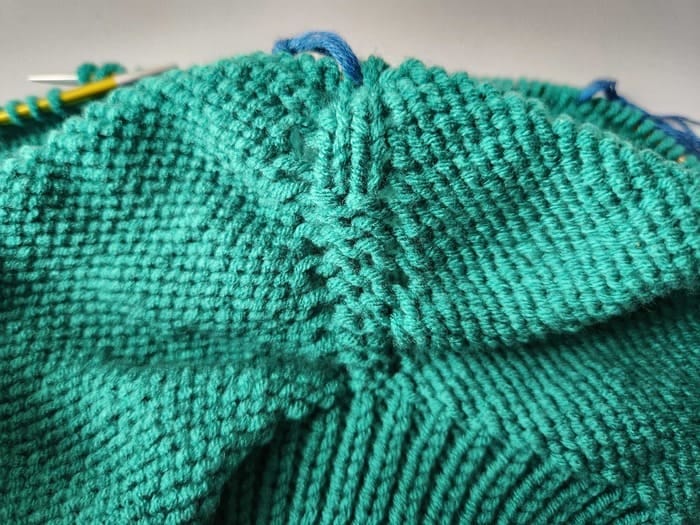
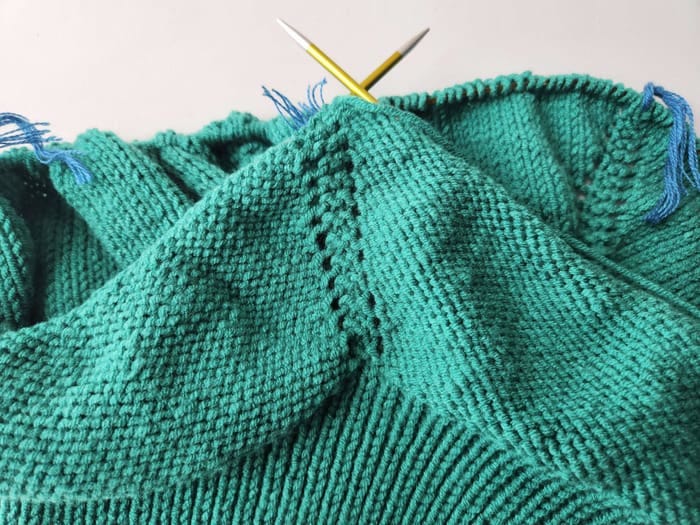
The garter stitch raglan increases somehow became stockinette raglan increases.
So I ripped back those rows and worked them again, ensuring the garter stitches were correct. I always need to check my progress to pick up mistakes before it’s too late!
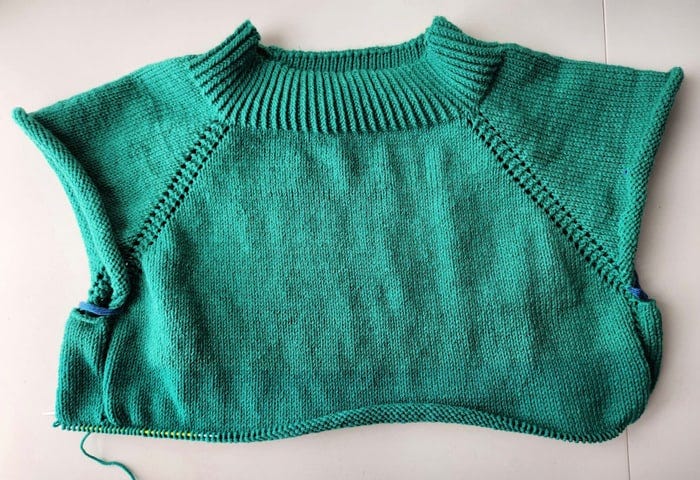
The picture above is where I divided the sleeves and the body only to realise later I’d made a mistake in doing so
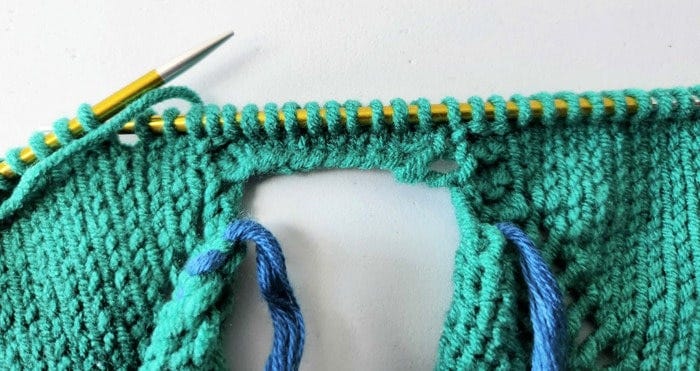
When placing the sleeve stitches on scrap yarn I mucked up the garter stitches that were meant to continue down on either side of the underarm.
I’m a visual learner. So to work out where I’d gone wrong, I drew diagrams of how I could transfer the right sleeve stitches on the scrap yarn and the right amount of stitches on the needle, to continue knitting the body.
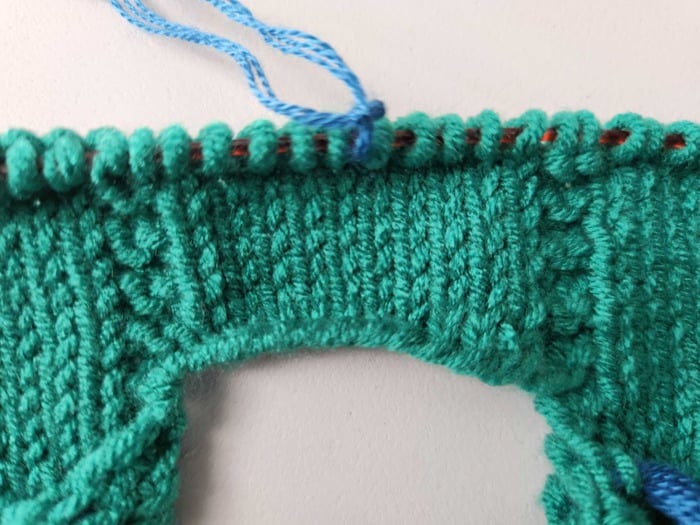
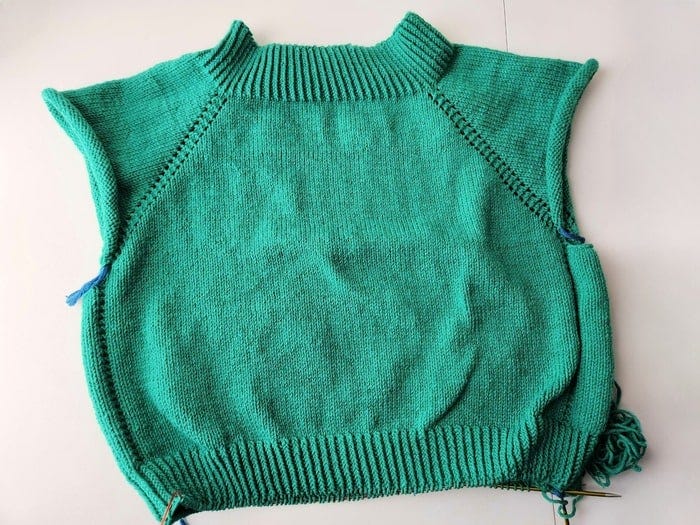
I figured out how to have 2 garter stitches on either side of the picked up underarm stitches. The pic above shows that I’d got the garter stitches correctly and was back to knitting the body section in the round.
When knitting the body I realized the ball of yarn I was knitting with was a different shade of green! The numbers on the labels were the same, but the manufacturer had slightly changed the color. I didn’t like how that stripe of green looked.
Fortunately, I had one ball left that looked to be the same shade and continued with that until the end of the body. One disadvantage of buying yarn online is you don’t get to select the yarns yourself and you rely on others to see the differences.
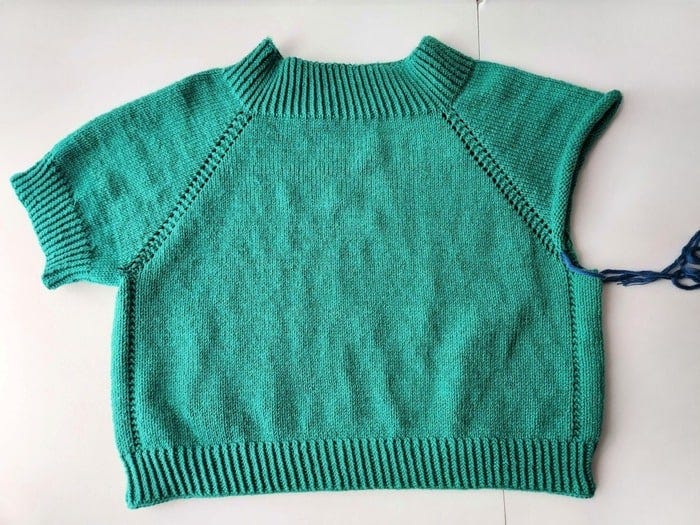
I knew the cotton wouldn’t have the same drape and the fabric would be denser, but I still think it turned out well. I’ve modified the length of the body so it looks boxier and the sleeve length is shorter. I’ll only wear this top towards the end of the year when it’s cooler because it’s too thick to wear now for it to be comfortable.
I tried a new technique for decreasing stitches which promised a less noticeable decrease. This was when I had to reduce the number of stitches evenly on the sleeve to then knit the ribbed section to finish off the sleeve.
The techinque is called SYTK (Slip, yank, twist, knit). The tutorial by TechKnitting gives clear instructions and great visuals. I love learning something new, and I was pleased with how the decreases looked!
I’m almost finished and my next project is sewing all those textured stitch swatches I knitted this year into a blanket. Wish me luck because they’re wildly varying sizes! 🙂
After that, I’m looking forward to knitting something new. Any suggestions for a garment or project suitable for a warm climate?


